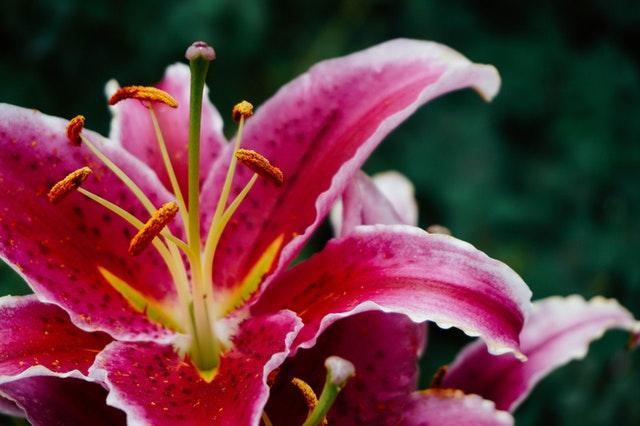
From Bouquet to Garden: Florist Shares Tips to Grow Dendrobium Orchids
Receiving a beautiful bouquet of dendrobium orchids can be a heartwarming event, and you will always want to preserve the flowers for as long as possible. Placing the bouquet inside a vase will only keep the bouquet around for a week or two at most.
If you want to keep them around for longer, consider planting the orchids you got instead. This way, you can potentially keep the flowers around your home for a few years as a reminder of that special gift you received. The best part is that dendrobium orchids are some of the more sought-after home plants in Houston and are always a welcome addition to spruce up your home’s interior.
Growing New Orchids from Cuttings
Before you start, it’s a good idea to head to the houston flower shop who delivered the flowers to you. After all, no one understands the condition of the orchids better than the one who cut and arranged them into the beautiful bouquet you received. Take the time to ask more about the flowers you received. Be honest about your intent to grow the flowers you’ve received, making it easier for you to ask for advice. Now is also a good time to ask whether your dendrobium orchids are soft-caned or hard-caned since orchid care varies slightly based on the species.
Additionally, many reputable flower shops, such as River Oaks Plant House, will have the necessary items you need to help you grow orchids. Initially, you’ll want to purchase the following to help you grow your new orchids successfully:
- shredded bark, sphagnum moss, or osmunda fiber
- plastic or clay pot
- orchid fertilizer
- growth hormone powder

Initial Steps and Tips
Dendrobium orchids are one of the more resilient types of orchids, but attempting to grow new orchids from the ones that came with your bouquet does require a bit of delicacy on your part. With our step-by-step guide, however, you can increase your chances of growing new orchids and enjoy the beauty of their flowers every year!
Prepare the Cuttings
One of the best things about dendrobium orchids is that they are capable of propagating from stem cuttings, especially if what you have on-hand are Noble Dendrobium. However, you’ll need to wait for the flowers to begin fading before you can start preparing the stem. Put the flowers in a vase to keep the stems alive while you wait.
Once the flowers begin to fade, clip them off of the spikes with shears. Make sure you dip the shears in some rubbing alcohol to sterilize them and prevent bacteria from entering the sections you clip off. Once the flowers have completely died, you can proceed with cutting the stem. Choose stems that are at most a foot long. Cut the stem carefully, leaving at least three or four nodes per section. Afterwards, dip the top end of each section into hormone powder to help stimulate new growths.
Assemble Your Rooting Tray
A key characteristic of dendrobium orchids is that produce growths first before they produce roots. This is why people often use rooting trays to create the ideal environment to stimulate the growth of roots. Fortunately, you can make your own rooting tray at home.
Grab a large cookie tray with a bit of depth. Soak some bark or sphagnum moss and allow excess water to drain naturally from the medium. Spread the bark or sphagnum moss evenly across the cookie tray and place the cuttings on top. Mist the cuttings with water, cover the tray with plastic wrap, and store in a warm location away from sunlight. This creates an environment with the right amount of humidity to stimulate root growth. Be sure to mist the cuttings every two weeks with water mixed with water-soluble nitrogen fertilizer. If any cuttings show signs of rot, discard them to avoid contaminating others stems. This is why it is highly advised to use as many cuttings as possible. Growing orchids from cuttings is a numbers game. The more cuttings you use, the higher the chances of successfully growing new orchids.
 Potting
Eventually, you will find that several stems will have developed new shoots and roots. Once this happens, gently cut the stem between the new plantlets using sterilized pruners. These are now ready for potting. Use a 2-inch plastic of clay pot loosely filled with moist bark or sphagnum moss. You can plant the stem upright. Feel free to use a stake if you find it necessary. The new leaves will continue to grow while the roots will start to cling to the bark/sphagnum moss. After you’ve potted your new orchids, keep them in a brightly lit location in your home, but away from direct sunlight.
Watering
Just like any plant, you’ll need to water your dendrobium orchids to ensure they stay healthy—but take care not to overwater them. Overwatering orchids will drown the roots and cause them to rot. The best time to water your orchids is to wait for the medium to be barely moist before running the pot under the sink and allowing the excess water to drain from the hole on the pot. At this stage, you’ll want to water the orchids twice a week. As they get larger, you can reduce watering the plants to once a week.
These are a few tips to help you grow beautiful dendrobium orchids in your very own home from that special bouquet you were given. There are a few resources you can check out online, but you may want to take the time to talk to your local florist in Houston tx first. Seeing as they are the ones who took care of the original set of orchids, it only makes sense that they would know the best methods to use to take care of the new set you’re trying to grow. Good luck!

